This is the text that appears at the top of the browser window and in search engines when visitors search for your website.
Guides - Creating a blog with Dedicated Blog
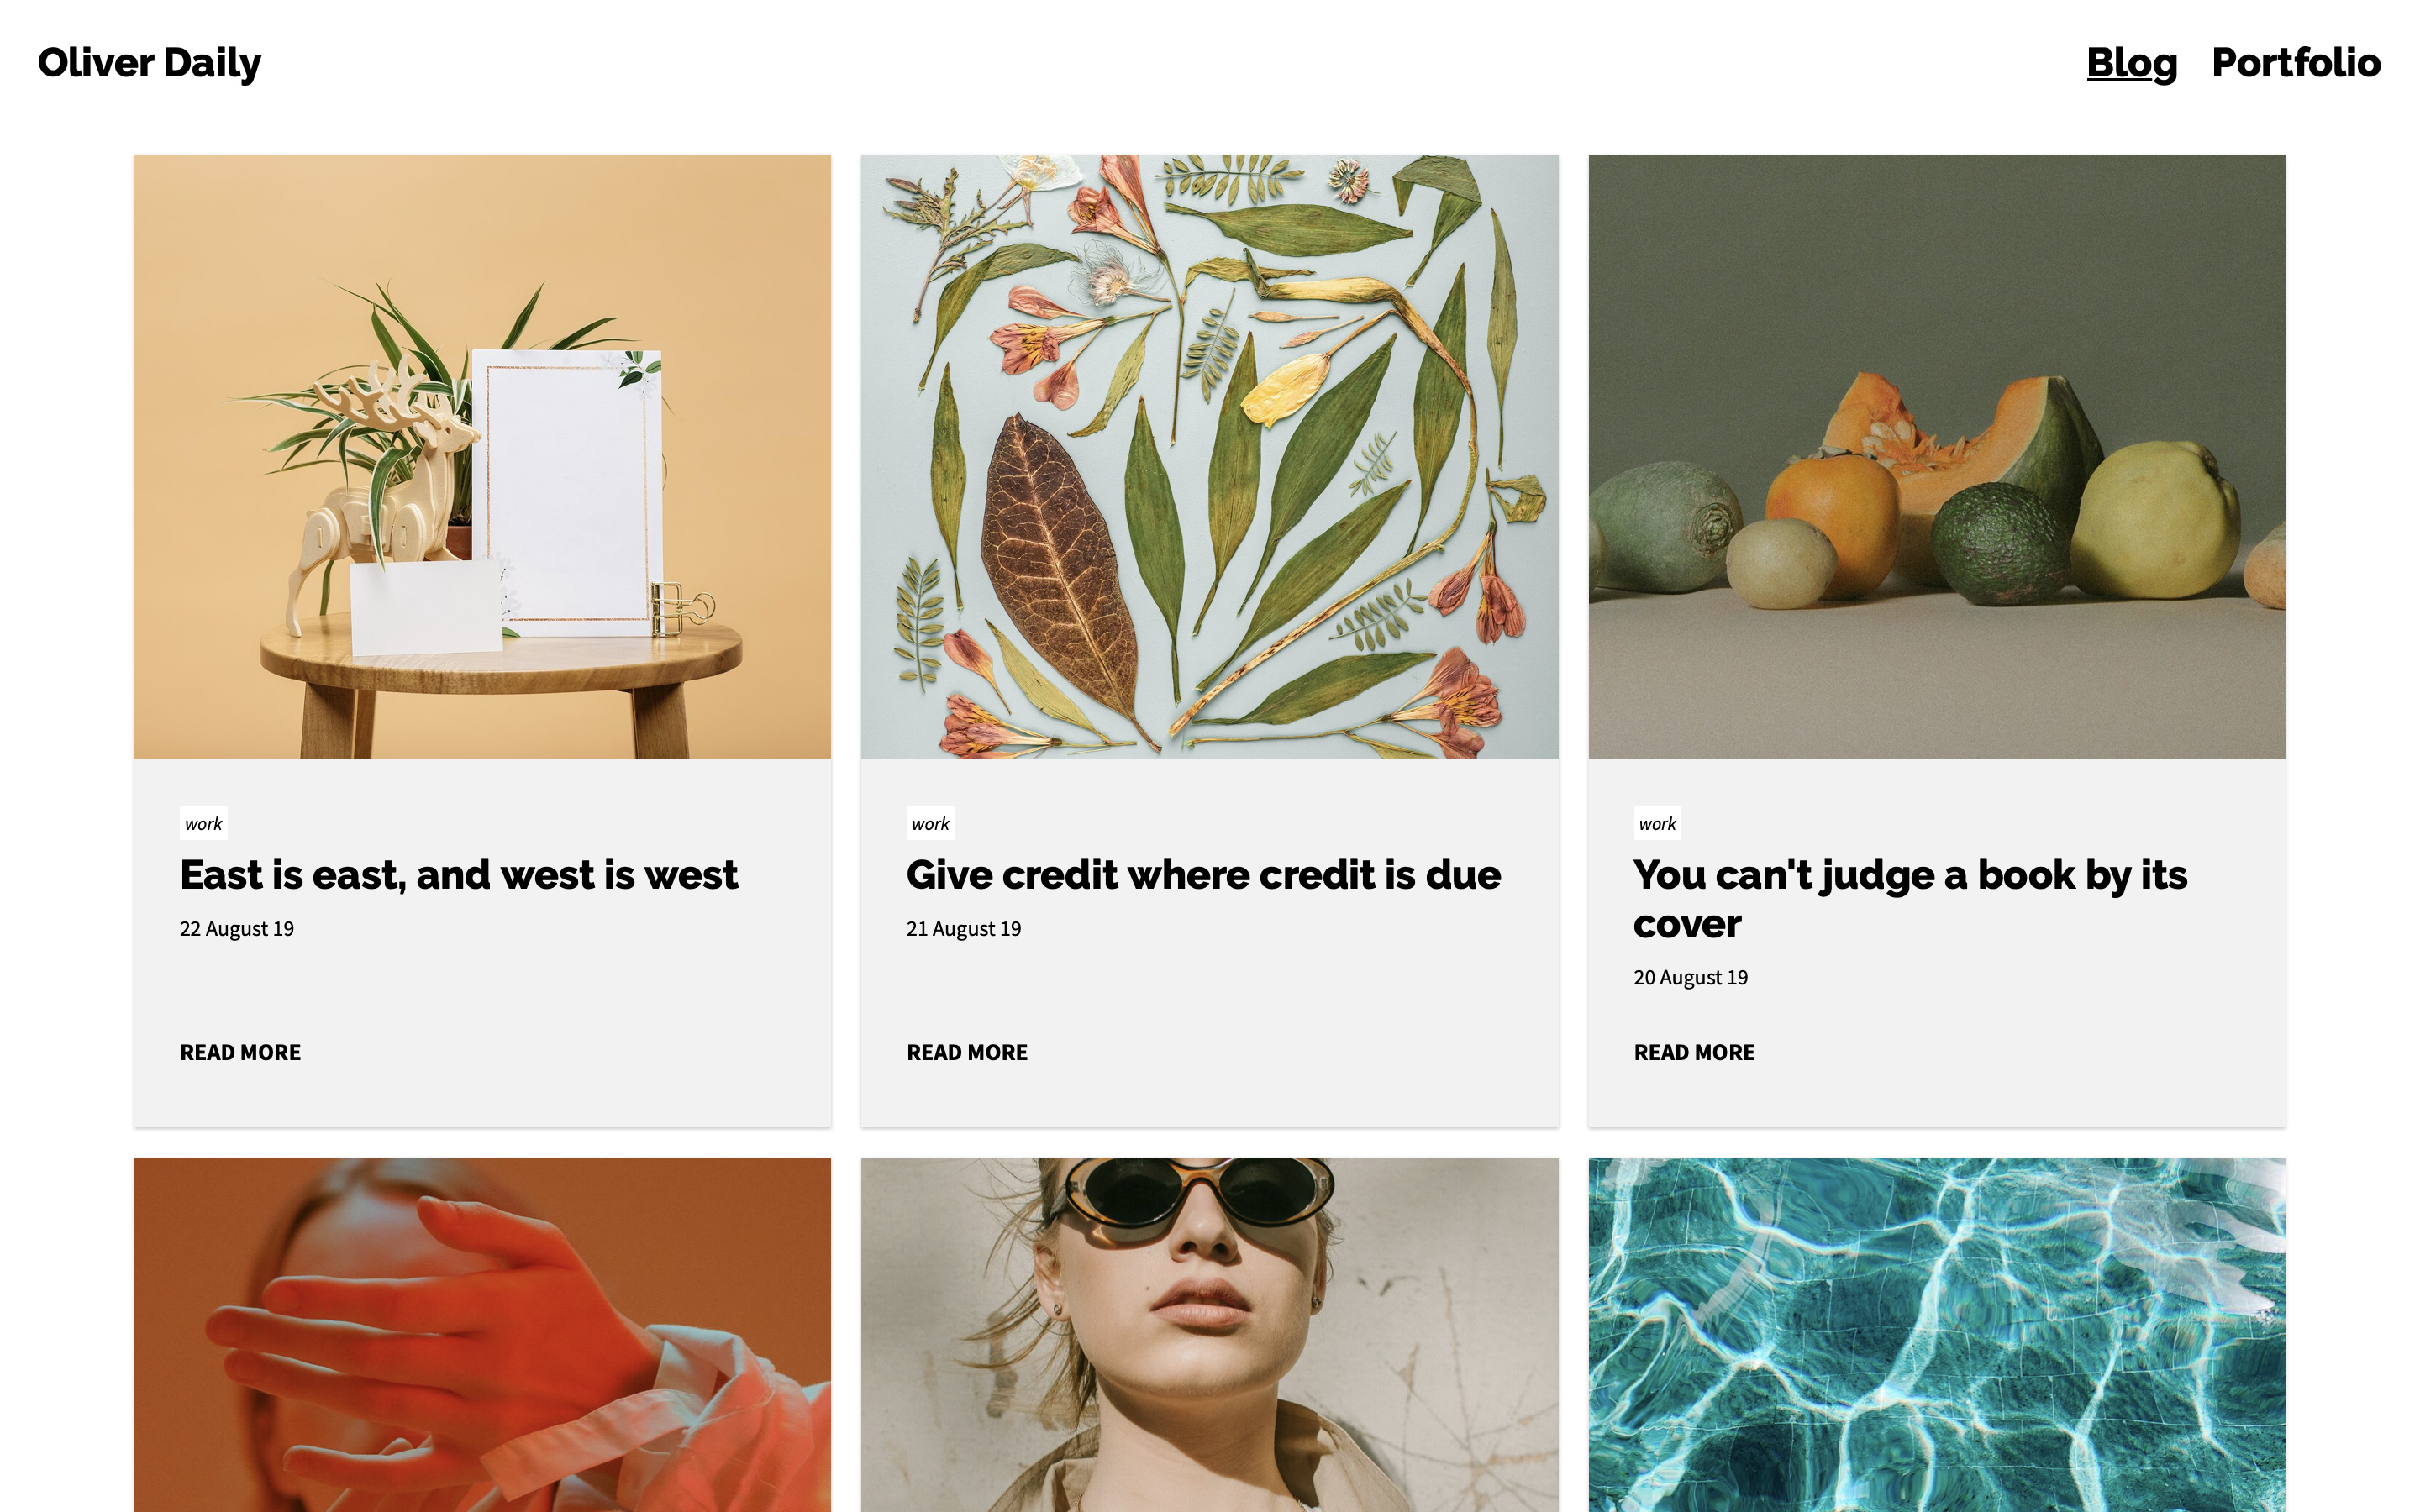
In this guide we'll be going through the steps to create and configure a blog using the Dedicated Blog template.
Before we begin, make sure you have an existing DPG blog or make a new one to use with this site. A blog can be linked to multiple websites, so you can work on a new blog website without disturbing a previous one until you're ready to go live.
Contents:
- Create the site
- Link your blog
- Preview your site using a testing host
- Fill in page title
- Fill in header text
- Add navigation items
- Add social icons
- Fill in contact details
- Edit the design
- Edit widget text
- Add website icons
- Set up a public host
Let's get started! 💪
Create the site
From the Dashboard navigate to the websites screen.Choose the New site tab, then Blogs.
Scroll to the Dedicated Blog template.Select an initial theme and index view preset for the site (this can be changed later) and click Create.
Give your site a name and click OK. Stay on this screen while the website is created, this may take a couple of minutes.Once the website is created, you'll see the Overview screen.
Link your blog
Now that you've made the website, it's time to connect your blog. If you haven't made a DPG blog yet, see Setting up a blog.
Choose the Pages tab and click the Edit button on the blog page.Select the Content tab and choose your blog from the Source dropdown menu. Scroll down to the bottom of the page and click Update.
Preview your site using a testing host
Now that your blog is connected, you should see the site is starting to take shape. Click the View button to view your blog on the web.This is just a preview URL for testing, we'll make a public address to share later on in this guide.
Fill in page title
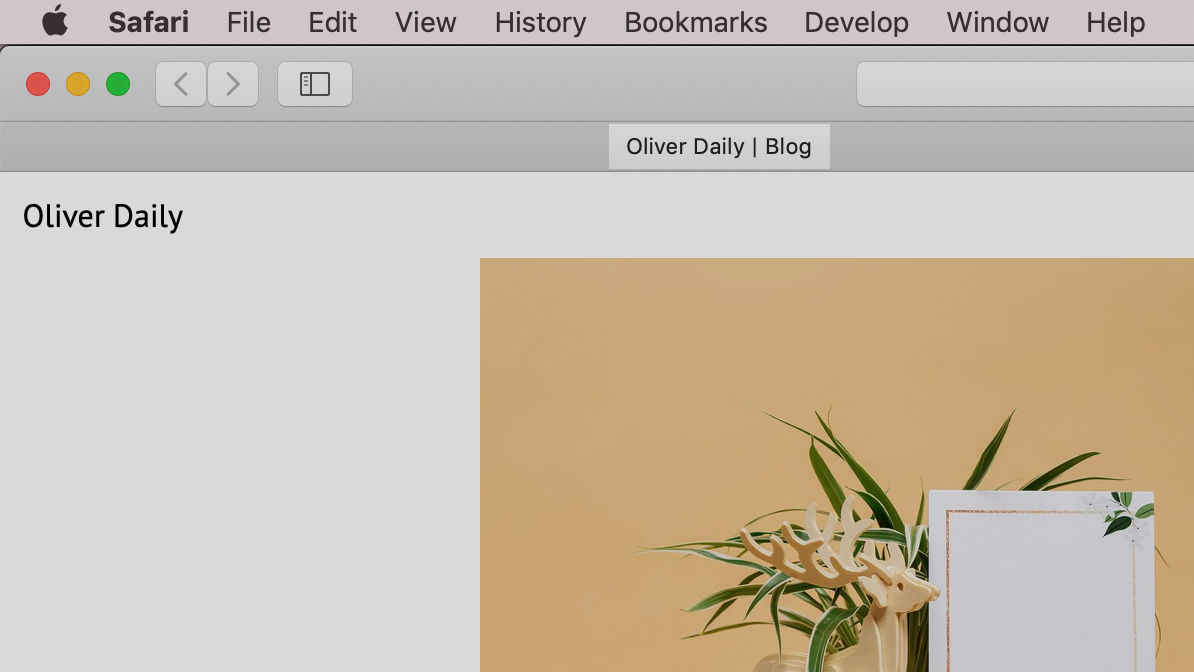
From the main Overview screen, choose the Content tab. This is where you can enter information that appears on your website such as the header and footer text, navigation items and social icons.
Under the General tab, enter your page title and description and click Update.
Fill in header text
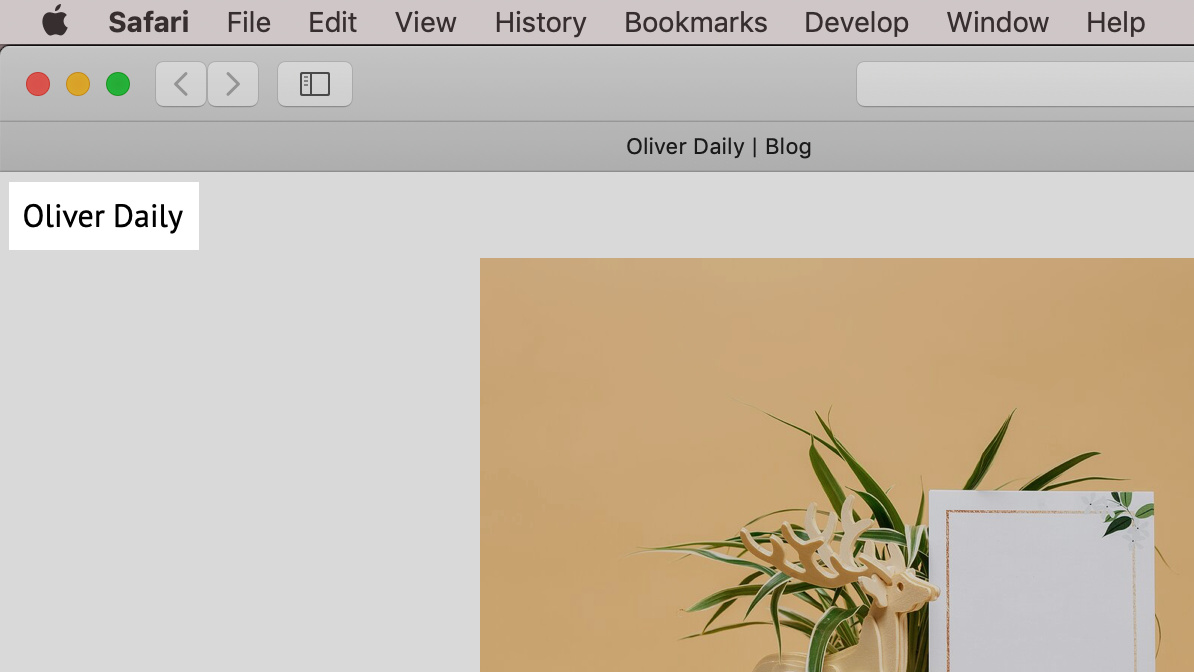
This is the text that appears in the header of your website. It may be your name or your blog's name.
You can add a logo to the header in the design section, but a text entry is also required for accessibility.
Add navigation items
You can add and remove navigation items here. These can link to other DPG or external websites.
Select the Main Navigation tab. Click the Create button, select type Standard and enter a name and URL for any additional navigation items. Click OK and repeat this process for each new item.Make sure that external addresses start with http:// or https://.
Add social icons
Add links to your social media profiles. These will appear as icons in the footer and overlay navigation.
Select the Social tab. Click the Create button to choose a service and enter the address of your social media profiles.Fill in contact details
Any contact information you enter will be displayed in the footer of the page.
Select the Contact Details tab. Enter contact text and click Update.Edit widget text
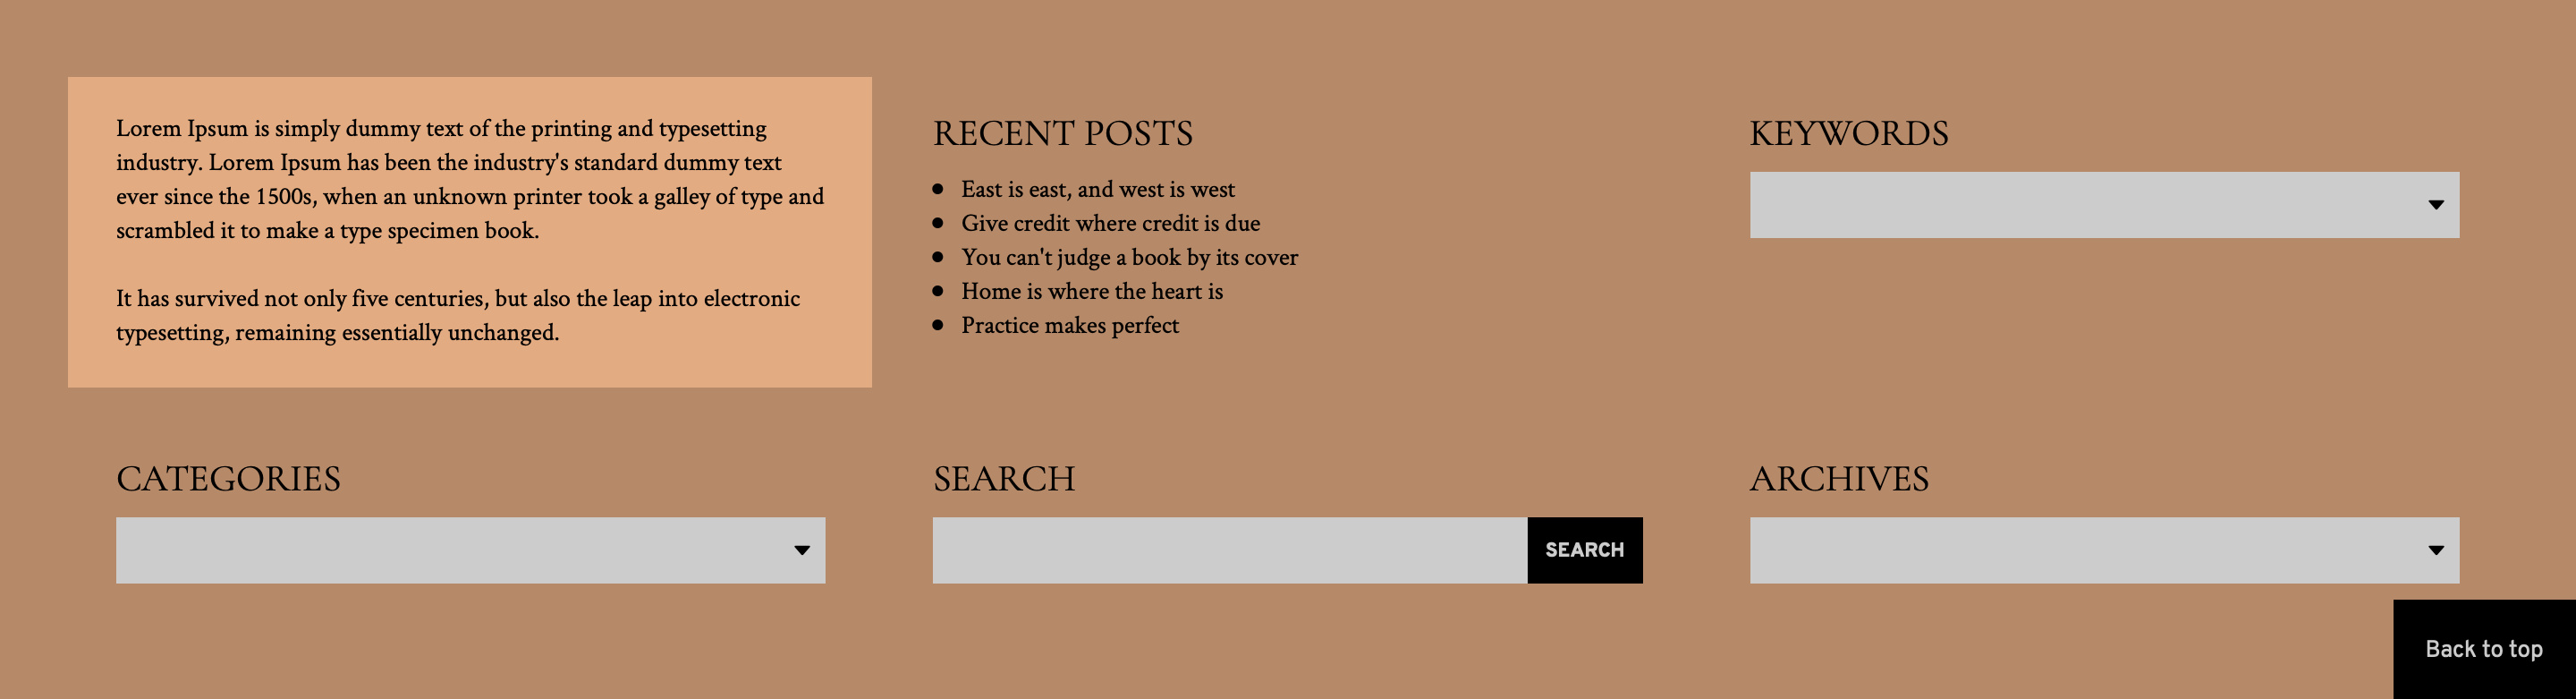
Blog widgets help visitors discover more via search, archives, categories and keywords. Replace the first text widget with your own text.
Choose the Pages tab and click the Edit button on the blog page.
Select the Content tab and scroll down to Sidebar components. Click the Edit button on the HTML component, enter your own text and click OK.
You can also delete or rearrange the order of widgets here.
Edit the design
This template comes with a number of themes, index views and navigation styles. There are also endless design customisations to make the design your own. Start by choosing a base theme and an index view. Then you can customise the style of your site using the Design section.
From the Overview screen, click the Edit Design icon. In the sidebar choose the Style then Theme tab. Select a Theme to use or customise later.Your theme will preview in the main window and you can click Save when you're happy with your choice.
To select the index view style, click the Page tab, then Components. In the sidebar you will see Blog Index View options.Select your chosen style and click Save.
Add website icons
Website icons are the icons you see in the corner of a web browser tab, when bookmarking a page or saving it to a mobile device. Using custom icons is a great way to showcase your brand.
You can add common website icons in the side panel of the website overview screen.
For best results your icon should be in PNG format and a minimum of 512px across, apart from the Pinned Site icon which must be an SVG file.
Set up a public host
Aka going live! This will be the url that you share with the world. If you have your own domain name, you can configure it here. If you don't have your own domain, you can set up a free dpg.gallery host.
Before you launch your site you should always add a public host, as only public hosts are cached for optimum speed and indexed by search engines.
You can use a free yourname.dpg.gallery host or add your own domain in the Hosts tab.