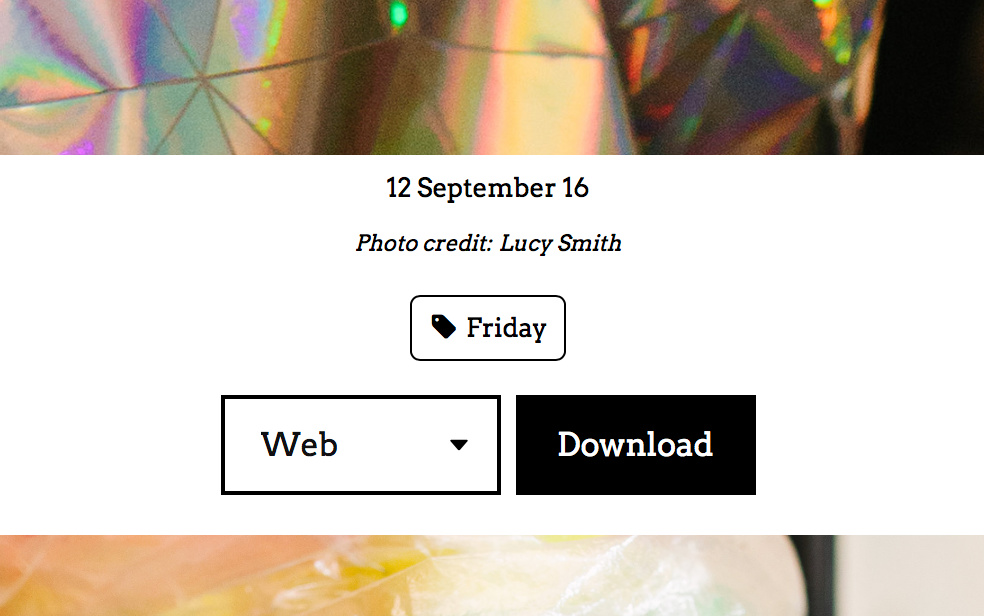
The site automatically creates image versions (such as those sized for Web and Instagram) for users to download.
Photo credits are automatically generated from image metadata.
Photo credits are automatically generated from image metadata.
In this guide we'll create a new standalone website for image delivery from an event such as a festival, concert or fashion show. It can display work by a single photographer or team and is ideal for distributing content to press and media.
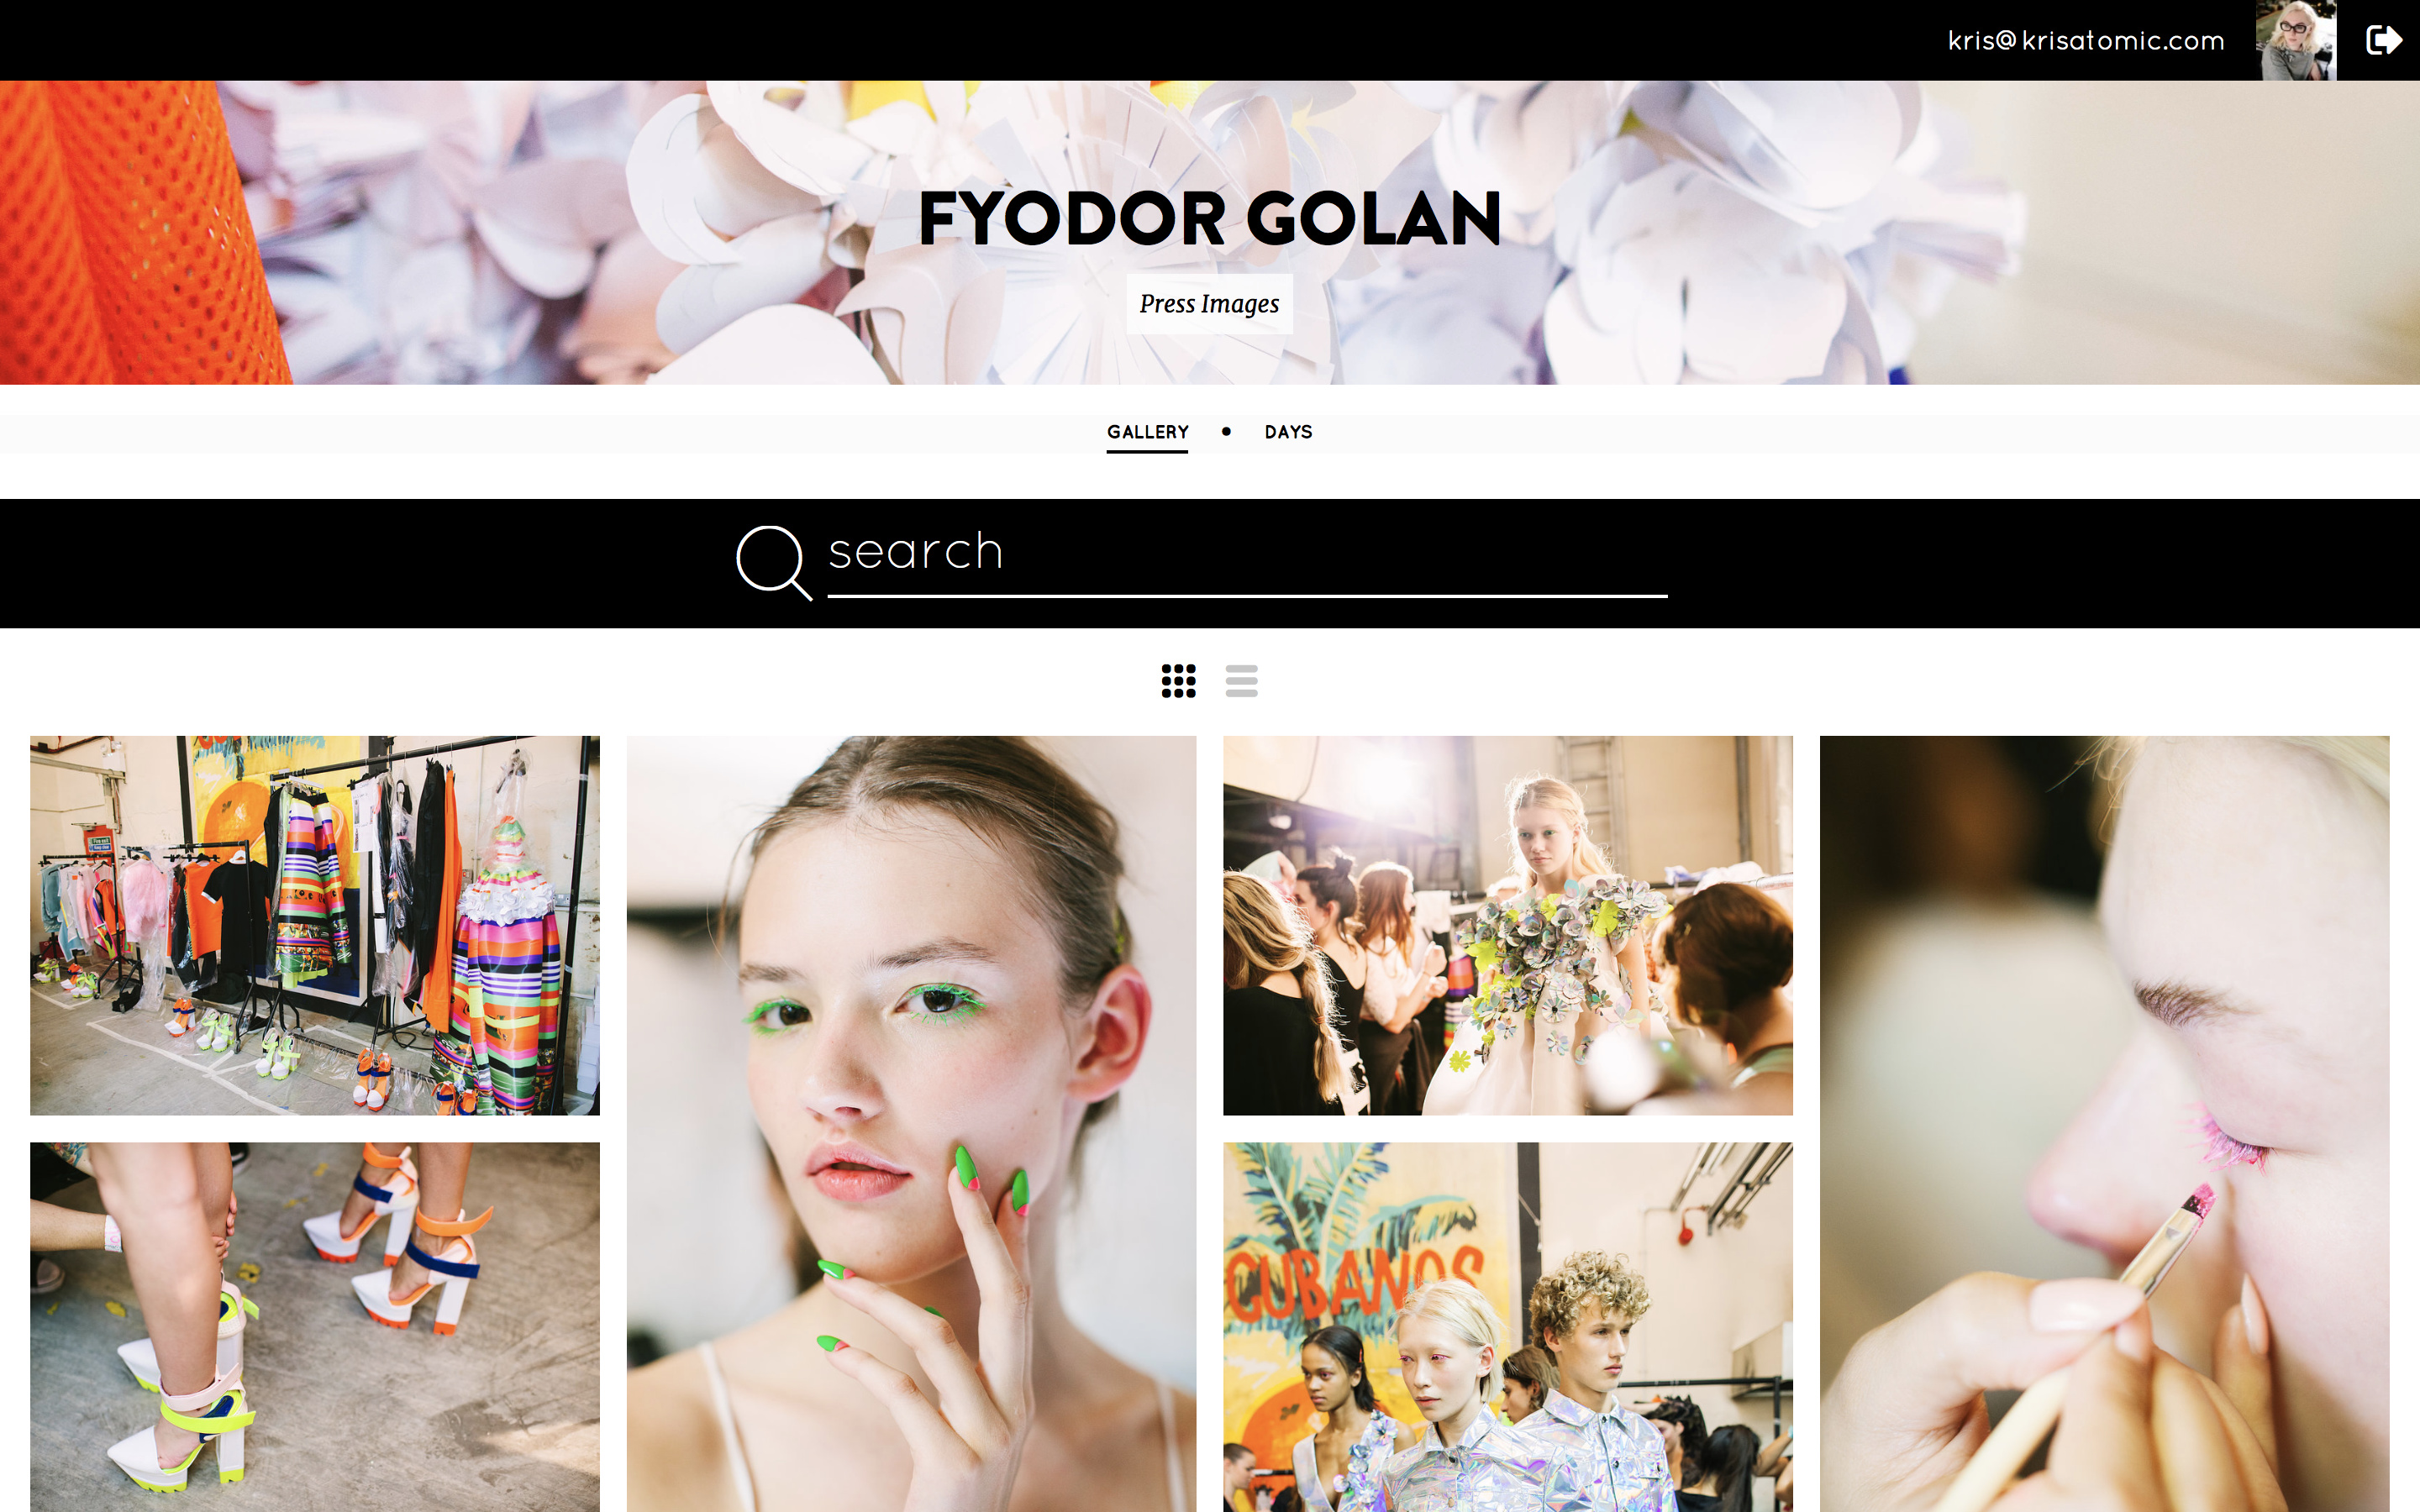
The "Switchable" page layout allows visitors to switch between the tiled masonry view and large image stream, to easily browse through the available content. It works across all devices, allowing them to access and download files on the go.
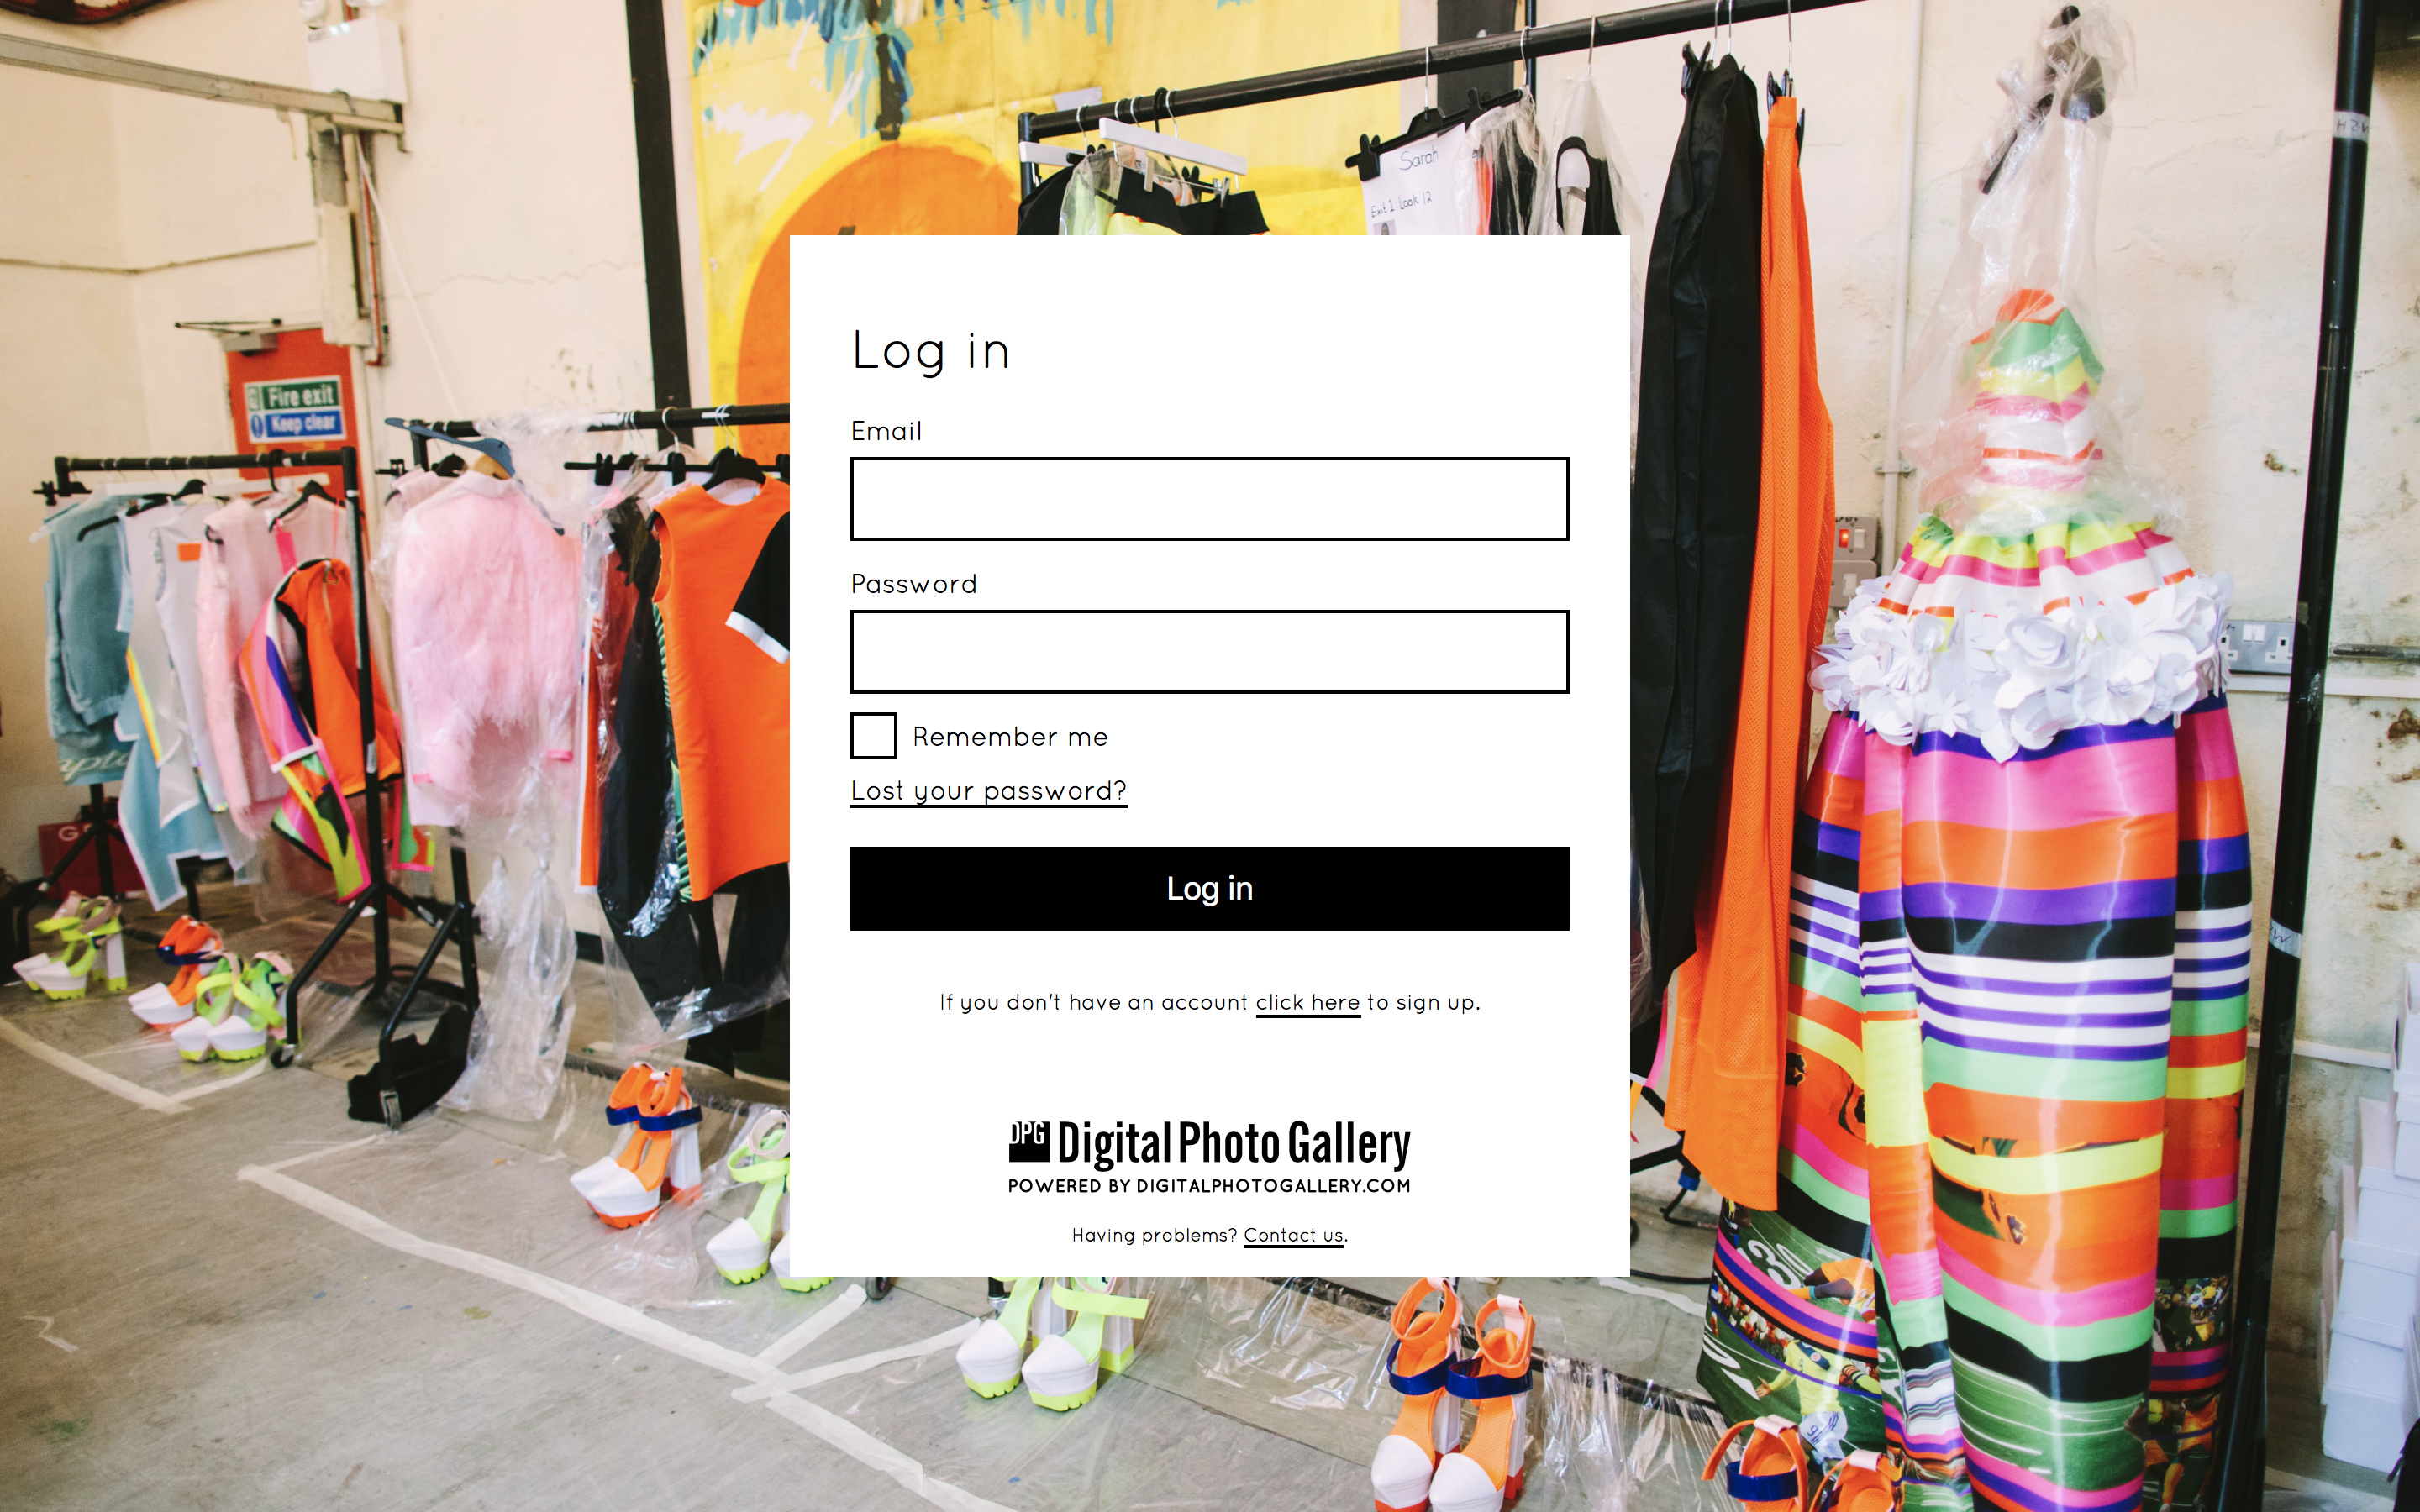
When the site is secured behind a login, each visitor will create a username and password to access the content. This allows you to track all downloads and see comprehensive statistics.
You can see a live demo of this site here. For your convenience, the demo site is not behind a secure login.
Visit the websites screen, click on the New site tab and scroll to the Modern Narrative template.
Choose the page collection Event Press Gallery [Switchable] from the dropdown. Select an initial theme and layout for the site (this can be changed later), then click Create.
Enter a name for your website - in this example we chose the name of the designer - and click OK.
You can optionally add a logo to the header of the site, which is a great way to echo the branding of an event. If you skip this step the header will be displayed as text and can also be styled in the design section.
From website overview screen, click Edit Design. Here you can change the base theme and layout, as well as other design elements on the page.
To add a logo, click on Design, select Header and choose a logo file to upload. You can change the size of the logo on the page by using the Scale option.
Another easy way to personalise the gallery is to add a header image. From the Design tab select Topbar and choose a header image to upload.
If you don't have any images in your account go to the upload screen to add some.
Though you may share the address of the site with a select number of users, it's a good idea to place any sites with downloads enabled behind a secure login. This will allow you to restrict access only to visitors who create a username and password.
Not only does this keep your images safe, it also lets you track user downloads and view a number of useful statistics. All files will also be uniquely encoded so that they can be traced back to the user that downloaded them.
Go to the Security tab and click Options. Switch the Enable log in toggle to the on position and click the Update button.
Go to the Restricted URLs tab and create a new restricted url. Type / in the URL box to restrict the entire site from the homepage, then click the OK button.
Once you've secured the site, you'll need to make a login for yourself too, as this is separate from your DPG login.
By default, the press site is created with two pages: a Masonry Gallery and a Keywords page.
Masonry Gallery page - this is where all your content goes. Add your images to the Gallery set to see them on the Gallery page.
Keywords page - this is configured to display images with the keyword day:<% Day %>. This is a dynamic keyword. Any images with this keyword will automatically be shown on the keyword page, organised by the day they were captured. This is great for multi-day events, but if your event is just a single day you can remove this page or change it to a different keyword.
Before you launch your site you should always add a public host. It will be indexed by search engines and content served from a public host loads faster in browsers. A public host could be your own domain name or our free dpg.gallery address.