The new site may take a few minutes to build. Please be patient and stay on the screen while it does.
Press Site - Setting up a Press Site
In this guide we'll go through the steps needed to create and set up a new press site - a standalone gallery with image download options, protected by individual user logins.
Contents:
- Create the site
- Fill in header and page title text
- Add a logo and customise site design
- Add a header image
- Add website icons
- Upload and add test images
- Preview your site on the web
- Enable user logins
- Add set text
- Google Analytics
- Add a public host or use your own domain name
- Next steps
This guide uses the music festival page collection, which will create pre-configured keyword pages and navigation for Artists, Stages, Days and People. If your event requires a different set of pages and keywords, follow the guide then see Adding new sections.
Create the site
Visit the websites screen, click on the New site tab.
Scroll to the Modern Narrative template. Under the configuration options choose Music Festival Press Gallery [Switchable]. Select an initial theme and layout (this can be changed later). Click Create and give your site a name.
If your site is for an annual event you can optionally add a year Page Group, which will make the addition of future pages much easier. Click Advanced Options and in the Page group section enter the current year or season, for example 2017. Click OK.
Wait for the site to be created
Fill in header and page title text
Once the site has been created you can replace the default text with your own information.Add a logo and customise site design
From website overview screen, click Edit Design. Here you can change the base theme and layout, as well as other design elements on the page.
To add a logo, click on Design, select Header and choose a logo file to upload. You can change the size of the logo on the page by using the Scale option.
If possible, use an SVG or PNG file for your logo. The recommended minimum width for the logo image is 2048px, which will be scaled for all devices automatically.
You can also make any other adjustments to design elements, colours and fonts in the Design section.
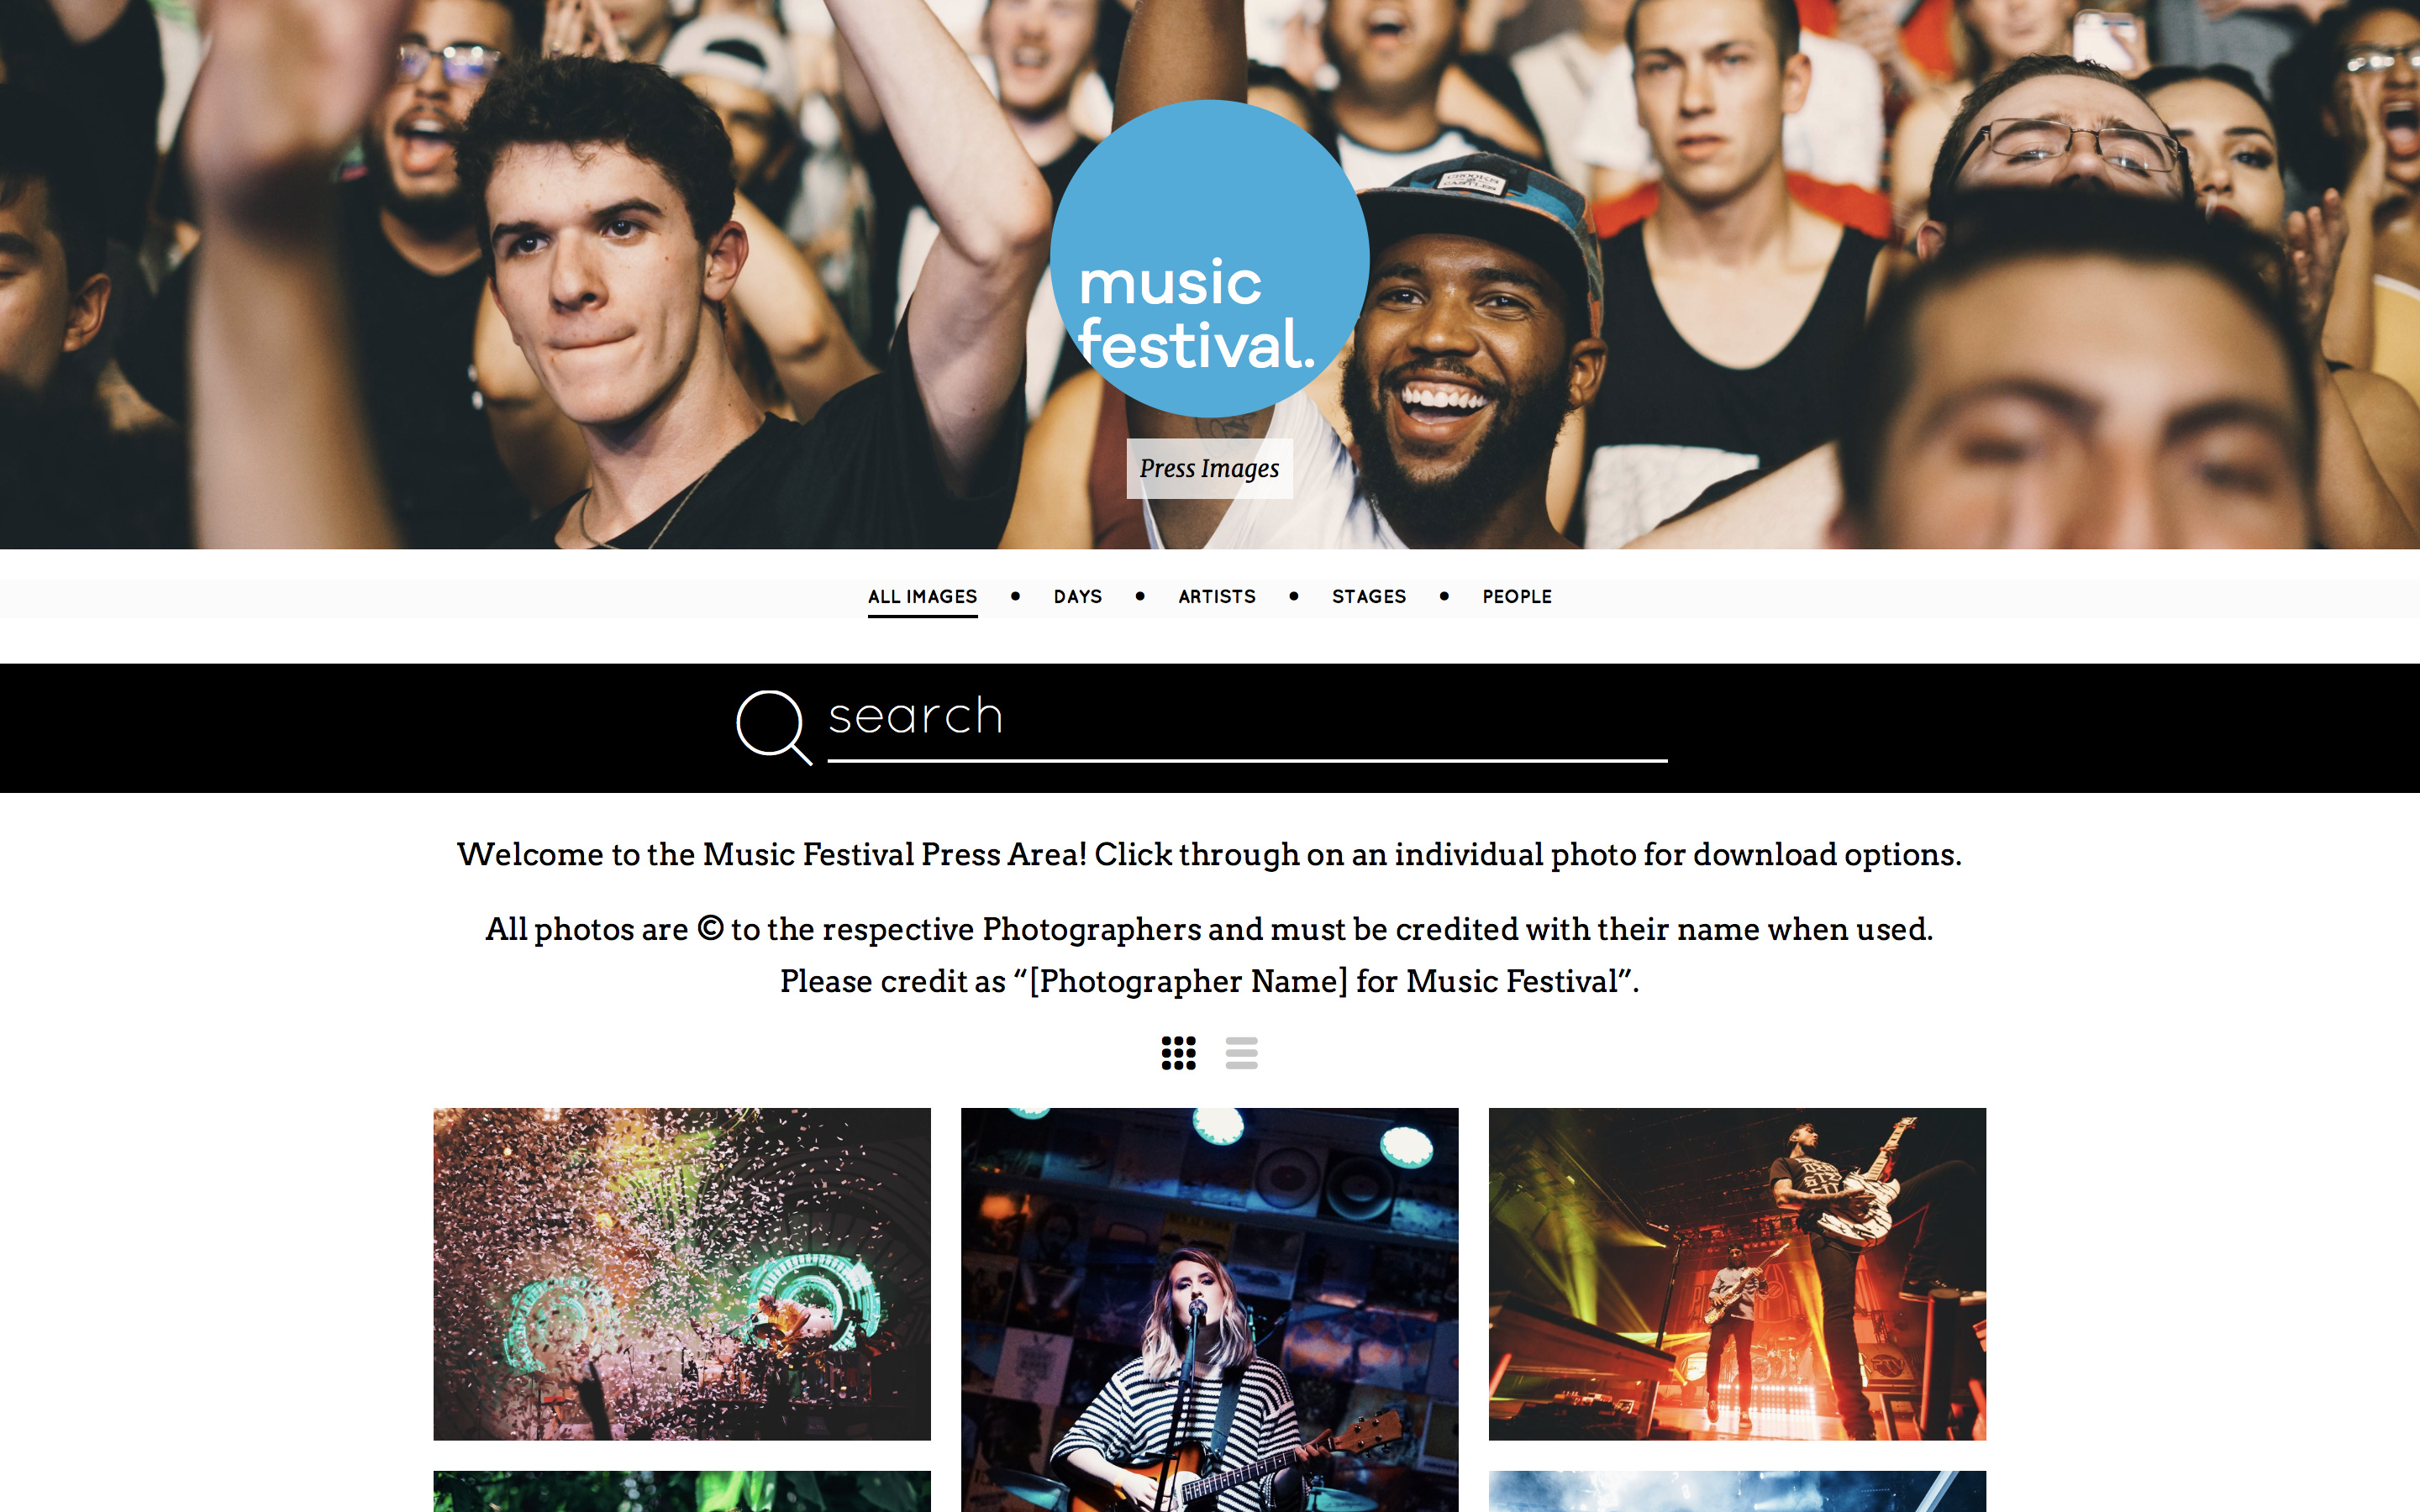
Add a header image
Another easy way to personalise the gallery is to add a header image. From the Design tab select Topbar and choose a header image to upload. You can toggle between desktop and mobile view to see how your design will look on different devices.
Use a high resolution image with a standard 3:2 aspect ratio. DPG will optimise the image on upload and make sure that it looks great across all devices.
Add website icons
You can add common website icons in the side panel of the website overview screen. For best results your icon should be in PNG format and a minimum of 512px across, apart from the Pinned Site icon which must be an SVG file.
Upload and add test images
Making your site creates corresponding sets in the image admin. Add some content to the Gallery set to see how it looks on the site using the image management tools.If you don't have any images in your account yet, go to the upload screen to add some.
Preview your site on the web
Click the Visit button to see your site live on the testing host address. The test images you added to the Gallery set should now appear here, along with their download options.Enable user logins
It's a good idea to place any sites with downloads enabled behind a secure login. This will allow you to restrict access only to visitors who create a username and password.
Not only does this keep your images safe, it lets you track user downloads and view a number of useful statistics. All files will also be uniquely encoded so that they can be traced back to the user that downloaded them.
This option requires you to be in edit mode Advanced, learn more about edit modes here.
Go to the Security tab and click Options. Switch the Enable log in toggle to the on position and click the Update button.
Go to the Restricted URLs tab and create a new restricted url. Type / in the URL box to restrict the entire site from the homepage, then click the OK button.
Once you've secured the site, you'll need to make a login for yourself too, as this is separate from your DPG login.
By default users are able to sign up, verify their email address and immediately access the site with their login. You can turn on Require activation by admin if you want the ability to approve each signup before the user can access the site.
After you've enabled logins, you may want to add a background image to the login screen. Go to Design > User Screens > Background and upload a high res image or choose a background colour.
Add set text
You can add text to provide visitors with information about your site, such as image usage rights and contact details.
Google Analytics
This option requires you to be in edit mode Advanced, learn more about edit modes here.
To enable Google Analytics, enter your code in the panel on the right.
Add a public host or use your own domain name
Before you launch your site you should always add a public host. Public hosts are indexed by search engines and content served from a public host loads faster in browsers. A public host could be your own domain name or one of our free dpg.gallery or festival.gallery addresses.
The testing dpg.cc address is uncached, so it's useful for checking when you've made any changes to the site, as they will appear immediately. The dpg.cc address should not publicly shared.
Next steps
- Adding new sections - add, edit or replace the keyword pages
- Preparing for a live event - DPG preparation
- Preparing for a live event - Team preparation